

The provider gallery
The page is titled “Models” and describes itself as “Connect model providers, choose workspace models, and manage organization-level access.” It has two tabs, Models and Custom Endpoints. The Models tab gives you aSearch providers box and a Filter toggle that, when pressed, shows only the providers that can actually be configured. Before any account exists, the tab opens on the empty state “Start adding your Models here” — “Configure a provider account, then choose the models available to this workspace.” A search that matches nothing reads “No providers found” / “Try another search or clear the filter.”
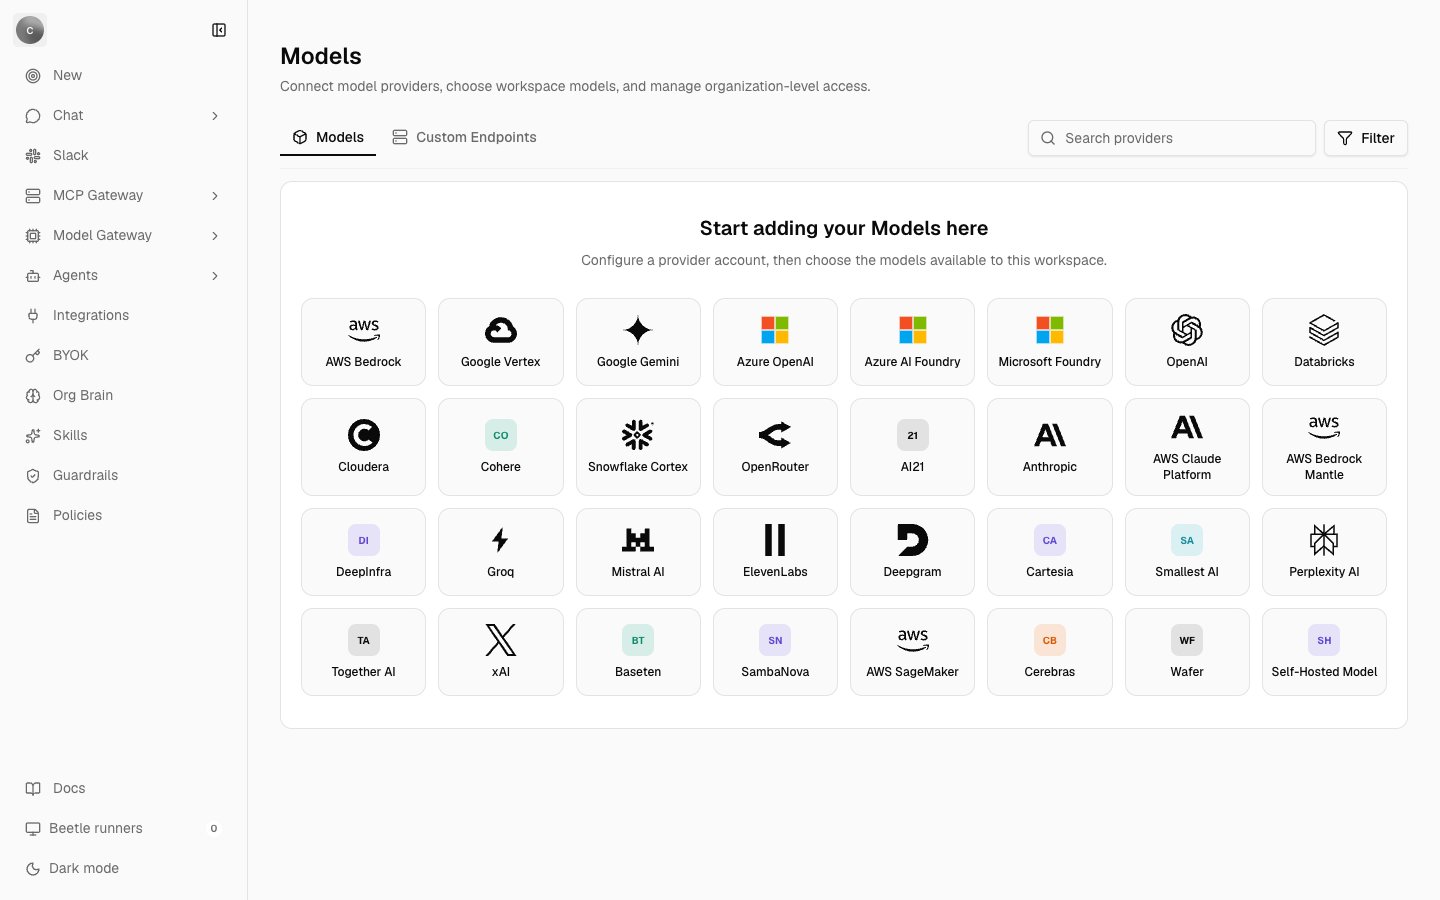
The Models tab before any provider account exists: the empty state sits above all 32 tiles, with Search providers and the Filter toggle on the right. Filter is the only reliable way to see which tiles can be saved.
Telling a preview from a provider you can use
A tile’s hover title reads either{n} models or Catalog preview, and that is not the executability signal it looks like. Catalog preview appears on the nine tiles that map to no catalog models at all — Cohere, AI21, ElevenLabs, Deepgram, Cartesia, Smallest AI, Perplexity AI, Wafer and Self-Hosted Model. The other twenty-one non-executable tiles map to real catalog manufacturers and show a healthy model count anyway; OpenRouter’s tile maps to the entire catalog. A count tells you what a tile would expose if it could be connected, not that it can be.
Two things do tell you plainly. Filter hides every tile that cannot be saved. And inside the setup dialog, every non-executable tile badges its Authentication section “Catalog preview” instead of “Models account”, disables all of its inputs, and closes the section with “This tile is informational until its executable runtime adapter is available.” — where an executable provider shows “Credentials are authenticated, encrypted, and stored only in the Models account.” The nine no-model tiles add one more line, above the fields: “This Models account form is a catalog preview. Durable account storage and execution require a reviewed runtime adapter.”
Because those inputs are disabled, Continue to model selection never enables for any of the thirty, and the dialog cannot advance past Configure account.
Connect a provider account
Selecting a tile opens a full-height dialog titledSet up {Provider} and manage models. It is three steps followed by a success screen.
1
Configure account
Name the account in “Account display name” — badged “Models account”, with the helper “This account belongs to Models. It is not the organization API Keys setting.” — then fill in the provider’s own fields. OpenAI asks for an “OpenAI API key” starting
sk-; Anthropic asks for an “Anthropic API key” starting sk-ant-. Every other tile shows its own shape, disabled: a region, access key ID and secret for the AWS family; a project ID, location and service-account JSON for Google Vertex; an endpoint and API key for the Azure family; an inference endpoint and an optional token for Self-Hosted Model.Continue to model selection stays disabled until the provider is executable, the name is non-empty, and every required field is filled.2
Model selection
Headed “Select models”, with a running count rendered as
{n} selected · per 1M tokens · approximate latency, Select all / Clear all, and a Search models box. The table lists Model, Type, Input, Output and Latency. These are the models this account makes available.3
Access control
Headed “Workspace access” — “Access follows Receipt’s existing workspace roles.” Managers (“Can manage provider accounts and model policy.”) is “Owners and admins” or “Owners only”; Users (“Can use policy-allowed models.”) is “Workspace members” or “Managers only”. The defaults are Owners and admins, and Workspace members. A Review block then lists Provider, Models account, Models and Can use, and Save models commits.
{n} models configured, “The encrypted workspace Models account is ready for chat.”, and a “Canonical model ID” block — “Use this ID in chat or agent configuration.” — with a Copy button and the first selected id.
Three things about the save are worth knowing:
- Only the API key is sent. The dialog transmits the account name, the key field, the selected model ids and the two access levels. The region, endpoint, project and token fields on the other tiles are disabled and never leave the browser.
- The key is authenticated against the provider before anything is stored. Its format is checked first, then Receipt makes a live call to the provider’s own API. A key the provider rejects never becomes a stored account.
- What comes back is secret-free. The account summary the page works with carries a 12-character credential fingerprint, not the credential. The key itself is encrypted, and each save appends a hash-chained receipt from which the serving row is rebuilt.
Model '{id}' cannot execute through {provider}. when a chosen model cannot route through this provider.
Who may manage the account, and who may use it
Models accounts are scoped to a workspace, and there is exactly one account per organization, workspace and provider — saving again replaces it. The page follows your active workspace, and a save with none selected fails with “Select a workspace first.” For how workspaces and roles relate, see Organizations and workspaces. The two access levels are enforced in different places:A workspace Models account is the first credential the gateway looks for, and it applies only to the models the account itself lists. When it does not apply — the model is not in its list, or Users is set to Managers only — the request falls through to an organization or workspace provider key, and then to platform-funded access. Bring your own key covers the other two.
{Provider} Accounts pane headed by the account name and the sub-label “Models provider account”. Its buttons are Copy FQN (which copies {providerId}/{accountName}), Add model and Edit, with Add {Provider} Account above them. In the rail, “Add other providers” offers Add new models to return to the gallery, and Back to connected providers brings you back.
What is in the model catalog
Model ids are alwaysprovider/model, and they come from eleven manufacturers: openai, anthropic, google, alibaba, deepseek, meta, mistral, minimax, moonshotai, xai and zai. There were 75 rows when this page was written, and the code describes the list as append-only in practice — so treat the application, not this page, as the catalog. Each row carries a context window, a zero-data-retention flag, its capabilities, its reasoning efforts, the providers it can route through, and optionally its pricing.
Of those 75 rows, 25 can actually run: the 15 OpenAI models that route through OpenAI, and the 10 Anthropic models, which need your own Anthropic key. The other 50 appear in the gallery and in the policy screens with no runtime behind them.
An account’s model table has the columns Model, Type, Input / 1M, Output / 1M, Latency and Actions; with nothing to show, the row reads “No models available for this provider.”
The Latency column is derived entirely from the model’s own catalog attributes:
≈ 3–8s for a reasoning model, ≈ 2–6s for a model with a context window of a million tokens or more, and ≈ 0.8–3s otherwise. Nothing is timed, and the number does not move when a provider slows down.The chat composer has no model picker in this release, so the canonical model id is not something a person picks per message. The model a turn uses is resolved on the server from the thread’s model and the organization’s policy.
Enable or disable models for one manufacturer
The page at/organization/settings/models/{providerId} looks like a detail view of a tile in the gallery. It is not. It is the enable/disable list for one model-catalog manufacturer, and it belongs to the policy system rather than the account system. You reach it from View all models on the Provider policy page, or by URL. Its own back link reads “Go back”, which reinforces the illusion.
The form is titled with the manufacturer’s name and described as “Enable or disable models for this provider in your organization.”, with the help line “Changes apply immediately. Disabled models are unavailable to the organization.” With nothing to list it reads “No models available for this provider.”
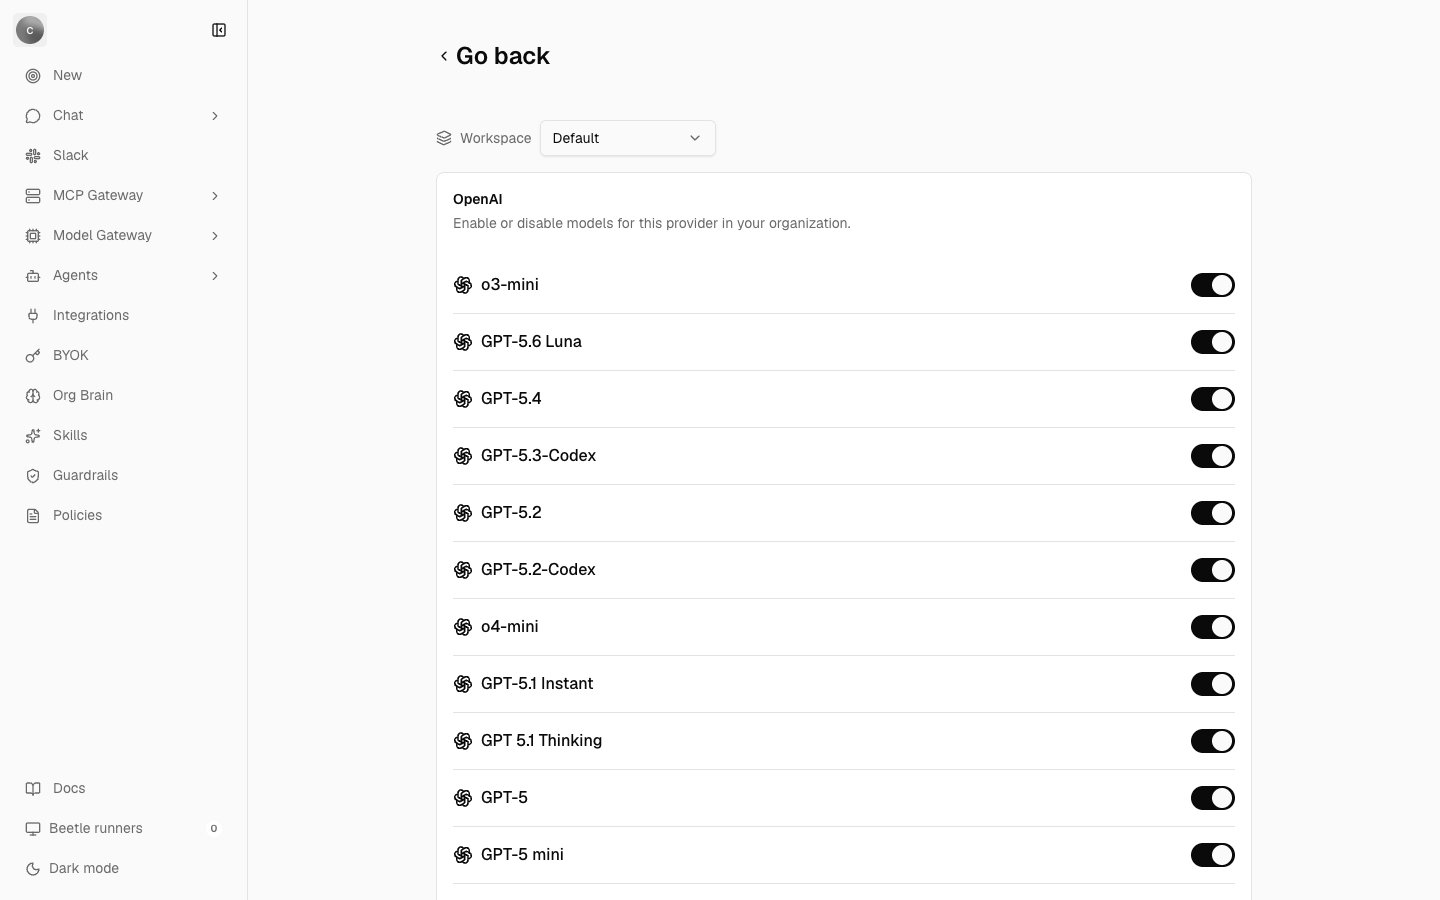
The per-manufacturer list for OpenAI. The workspace strip above the form becomes a switcher once the organization has more than one workspace, the title is a manufacturer rather than a provider account, and every switch is on — on this screen, checked means the model is enabled.
Custom endpoints
The second tab is headed “Custom endpoints” — “Add an OpenAI-compatible or self-hosted inference endpoint and then select the models it exposes.” Its Add custom endpoint button opens the setup dialog for the Self-Hosted Model tile, whose fields are an “Inference endpoint” and an optional “Authentication token”.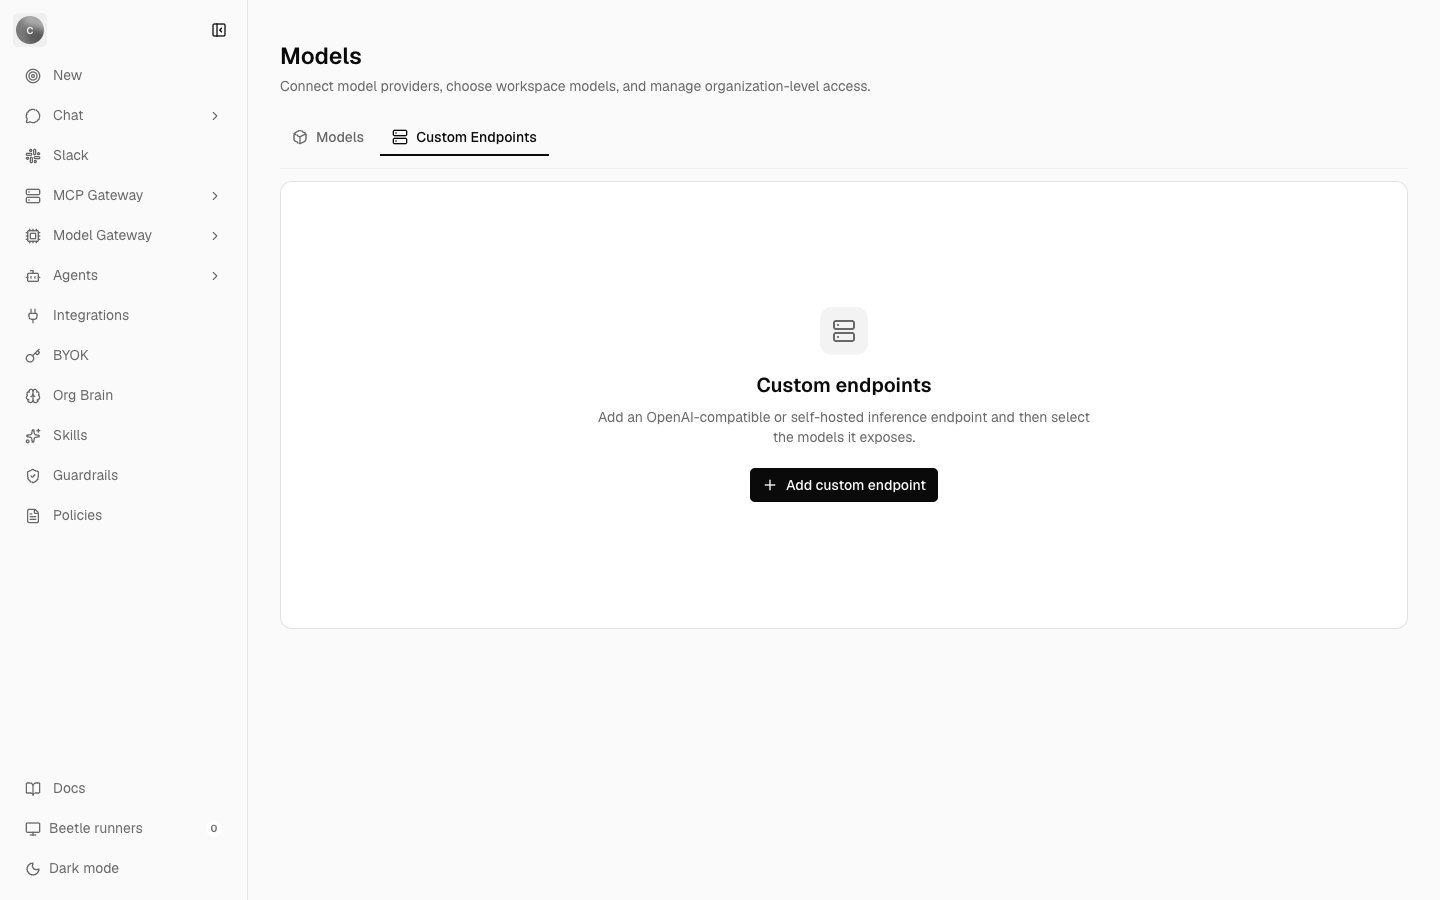
The Custom Endpoints tab holds a single action, Add custom endpoint, which opens the Self-Hosted Model provider dialog.